Monday, September 29, 2008

Unsharp Mask I see Clearly now

Before Unsharp Mask
Hunger_IMG_0366

After Unsharp Mask
Hunger_IMG_0366_usm
You really need to look at larger sized images to see results.

I have learned one of the most important aspects of taking photos with a DSLR, they inherently make soft looking photos. But I've seen pictures that people have taken that look crystal clear. I was always disappointed that my pictures were just a bit less clear. I figured I was just not very good at selecting the aperture or my focus was off a bit or I was jerking a bit when I pushed the shutter button.

Then I read this article Understanding USM started playing with Unsharp Mask in Photoshop and it was like a veil was dropped from my pictures. All of a sudden I too had those Razor Sharp images that I was so envious of.

Go ahead click on the link understand the mystery that is Unsharp Mask and you too will be amazed at the results.

Saturday, September 06, 2008

Img_0232 and post processing

Okay here is something I've done more than once get my camera out play around with some settings on it then put it back in the camera bag. Soon after that I'll grab the camera bag to go out and shot some picutres. Usually after 10 or so shots I will figure out something doesn't look exactly right. The pictures might be a bit too light or a bit too dark. Maybe they are all a bit fuzzy or other some defect. This is usually due to the fact I left the exposure compensation a few clicks off 0, the iso some where around 1600 or I've gotten creative with white balance. While these little issues can be a pain they may not have to ruin a great photo especially if you are shooting in RAW format.

Here is an example of such a photo. The night before I went out to the St. Louis Zoo I was playing around with my camera in my office trying to see how exposure compensation effected my photos with a flash. I deleted the test photos and put the camera away forgetting the exposure compensation was a bit off.

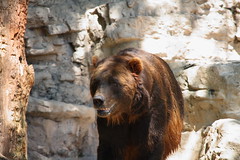
Next day I walk into the zoo pull out my camera get the lens cap off and see a Grizzly Bear posing for photos. Here is one of the photos I snapped.

IMG_0232
I bit over exposed this is the jpeg off the camera
Well that was not what I was hoping to capture.

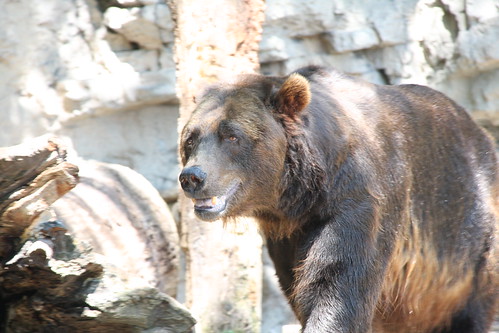
Enter Adobe and Camera Raw here is that example.

Bear_IMG_0232
Better I think.

Then tonight I was playing around with the photo in Canon's Digital Photo Professional. Here are the results from that tool.
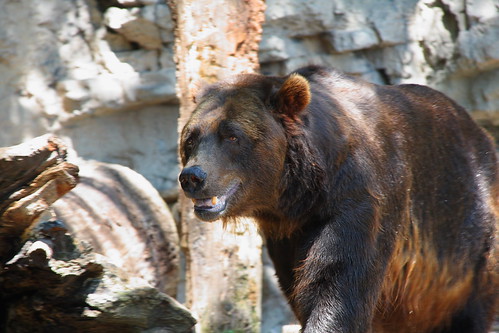
Bear3_IMG_0232
The Best?

Something about the third photo just freaked me out. The Bear's eye seems to be penetrating right to the core of me. This is the emotion I wanted to evoke with one of these Bear images.

This was all made possible because I was shooting in RAW and had the best source to post process. I used to think that working with a photo after you had taken the picture was cheating. I'm quickly changing my mind about that.

Tuesday, September 02, 2008

A trip to the zoo


Bear2_IMG_0224
Originally uploaded by reboot95
I took a trip to the St. Louis Zoo Saturday. Another opportunity for the Canon 40D and Geotagging. I had a great time and my friend turned out to be an excellent guide.

We started off on a trip to the Japanese Festival at the Mo. Botanical Gardens but there was just no parking what so ever. So I dropped some friends off at the entrance and the rest of us headed to the Zoo.

One thing of note about the St. Louis Zoo is the fact they do not charge anything to enter. This is a one of the great things about living in St. Louis. They also have a pretty good amount of free parking around the Zoo. If that does not work out there are some big lots that charge a fee.

You might think that a free Zoo would not be that good. Not so, from what I understand the St. Louis Zoo is on par with any other Zoo in the Country. So all of you that live in other cities, it is alright for you to feel just a bit envious.

If you would like to see some of the pictures I took head over to my flickr account http://www.flickr.com/photos/reboot95